
Each Tenant in The Smart DMS represents a separate business unit or client environment. You can update Tenant details and assign users who should have access to it.
To edit a Tenant and assign users, go to Tenants page, search for the Tenant you want to update and click edit. The form allows you to manage Tenant-specific details such as name, model prefix, activation status, and user access.

Tenant Details #
- Tenant Name
Enter the name of the Tenant (e.g.,Tenant 1,Downtown ISP,Garage Westlands). This is how you’ll identify the Tenant throughout the system. - Model Prefix
This prefix (e.g.,T1-) is automatically added to model IDs (e.g., task IDs) created under this Tenant. Example: A task created under this Tenant may appear asT1-IN-FB-123. - Is this a primary Tenant?
- Set to Yes if this is the main Tenant for the organization.
- Active
Tenant Users #
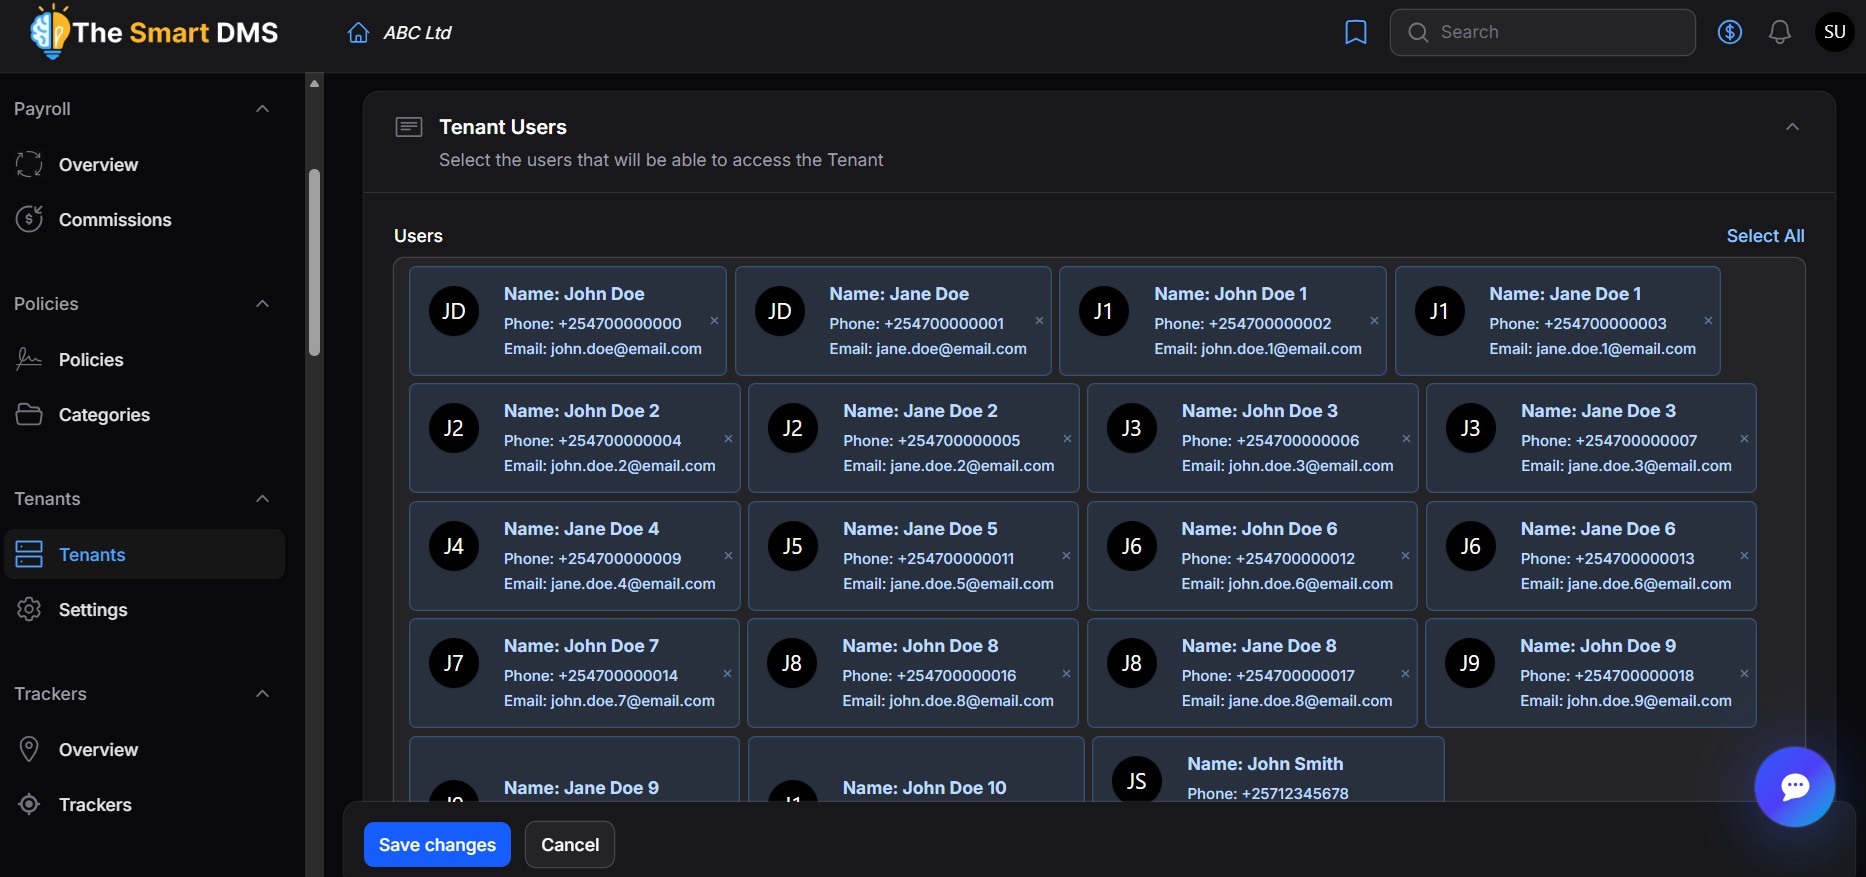
- Users
Use this field to select which users should have access to this Tenant.
Tip: Users must first register and verify their account before they appear in this list.


