Panel Banners let you show custom banners in different sections of The Smart DMS — like above the top bar, on the login screen, or after the reset password form. These banners are useful for showing announcements, system notices, reminders, or links.
How to Create a Banner #
Follow these steps to create and customize a banner:
1. Open the Create Banner Modal #
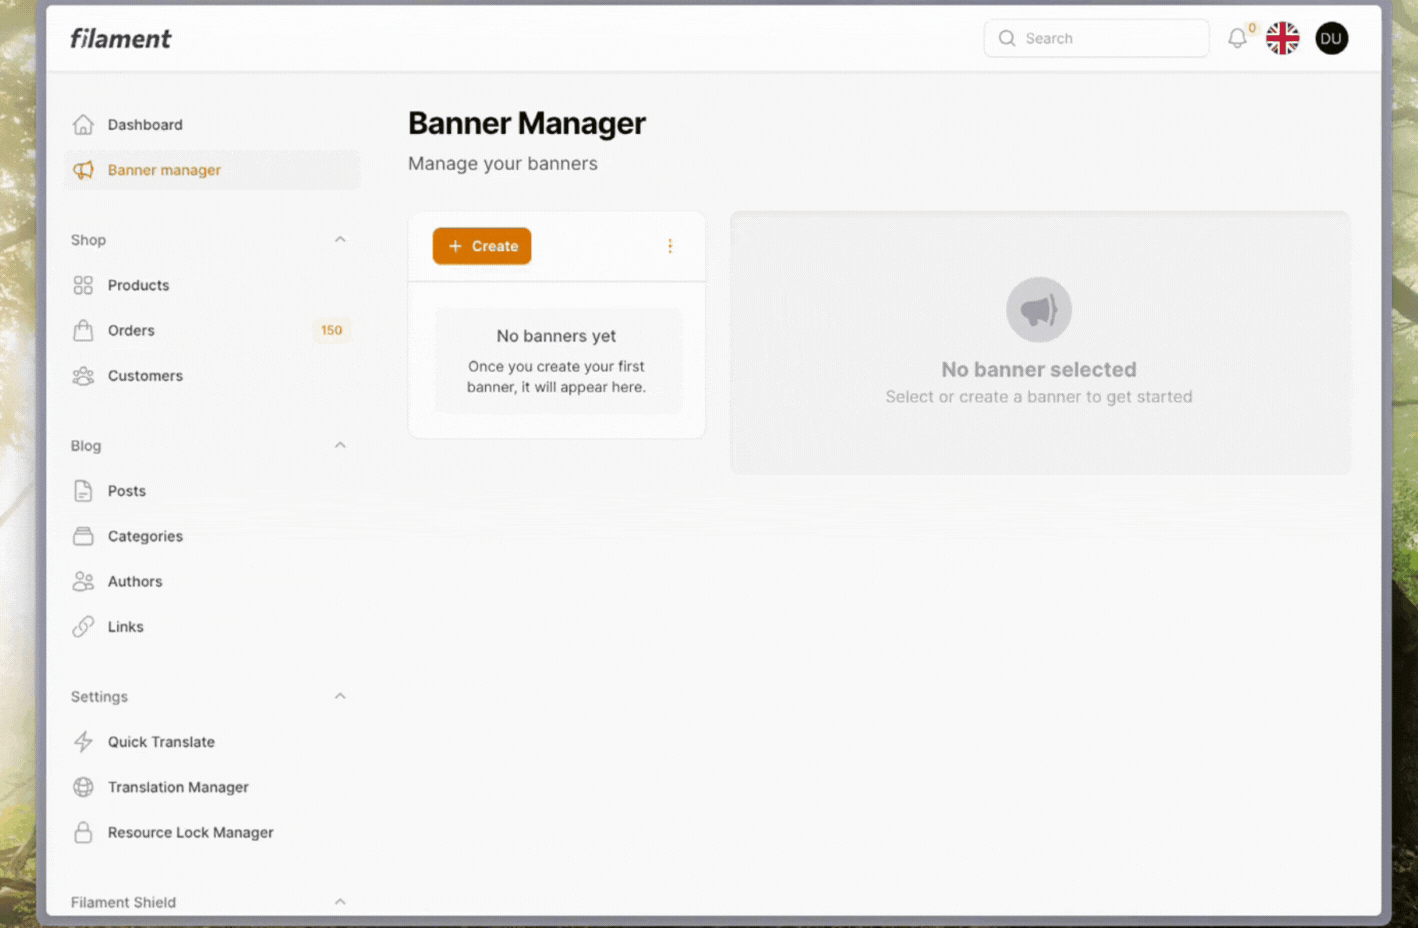
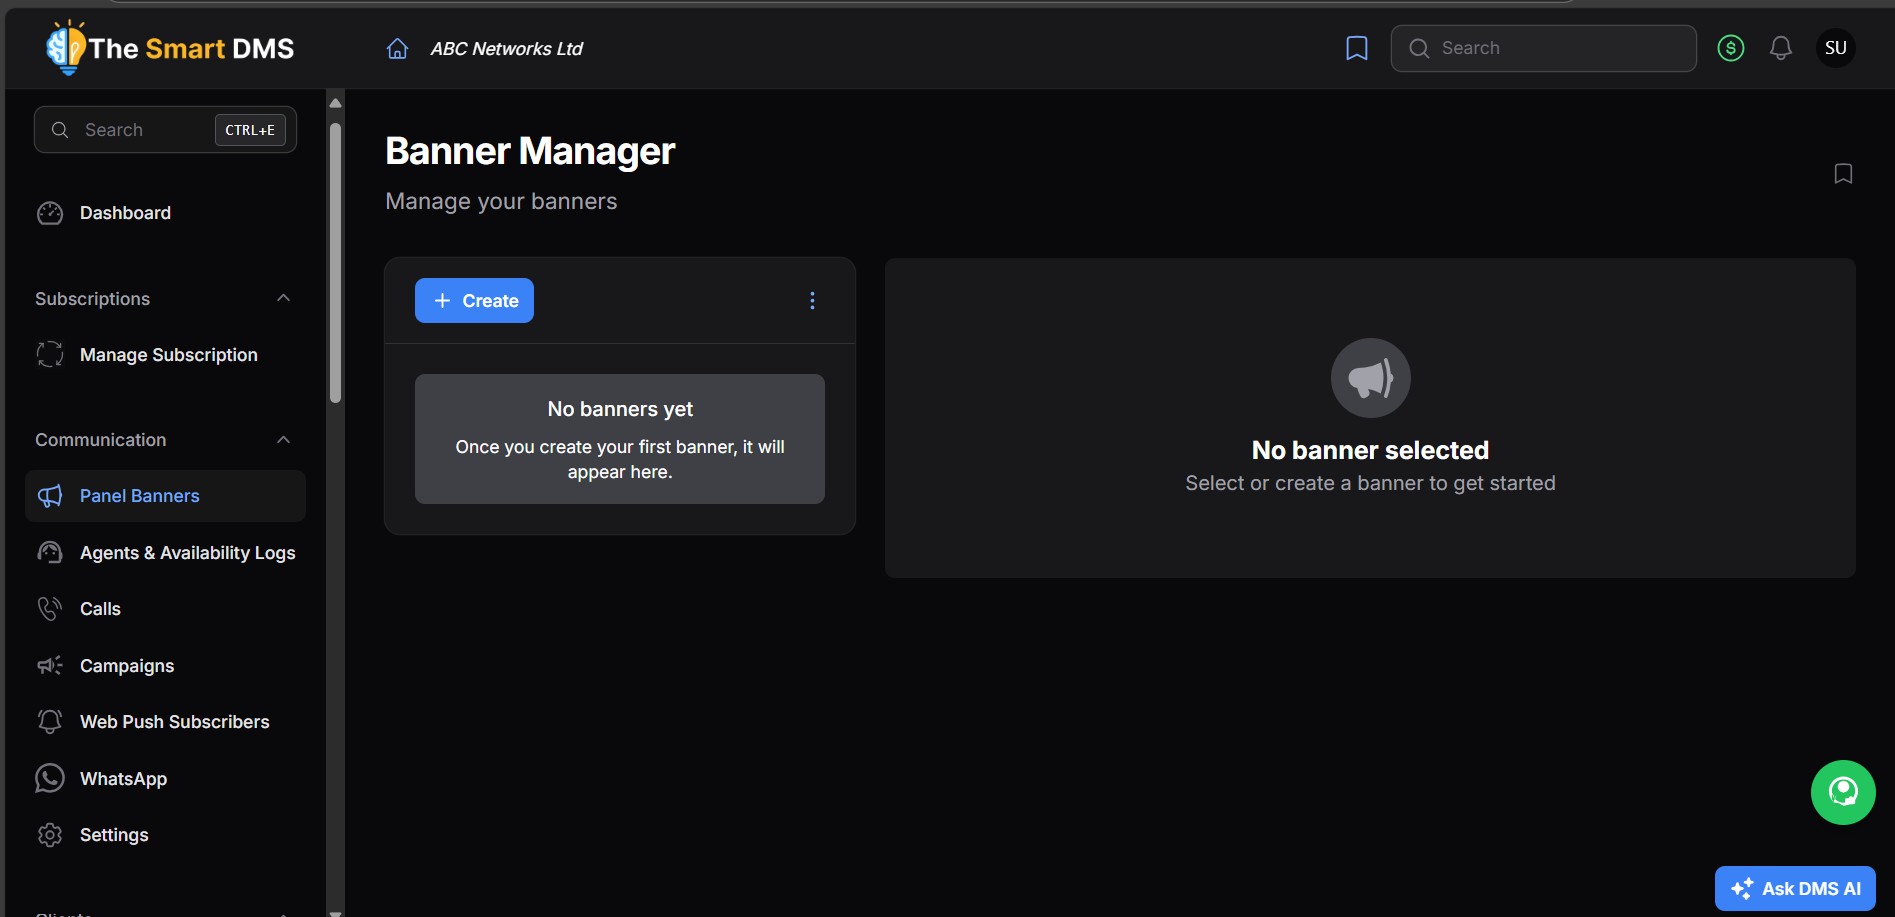
- Go to the Panel Banners section
- Click the Create button
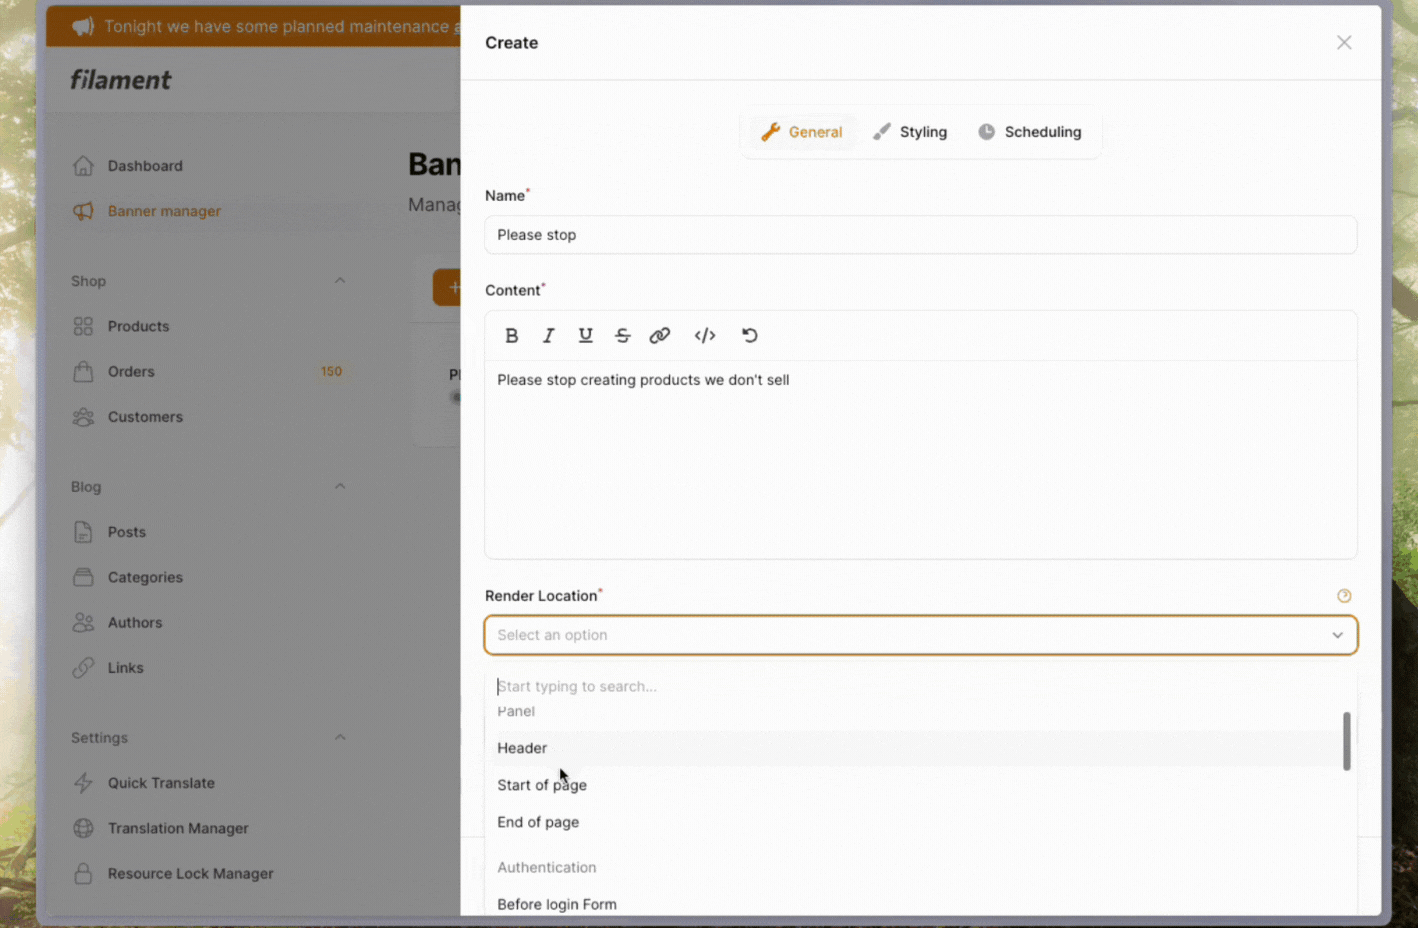
- A modal will appear with 4 tabs: General, Styling, Link, and Scheduling
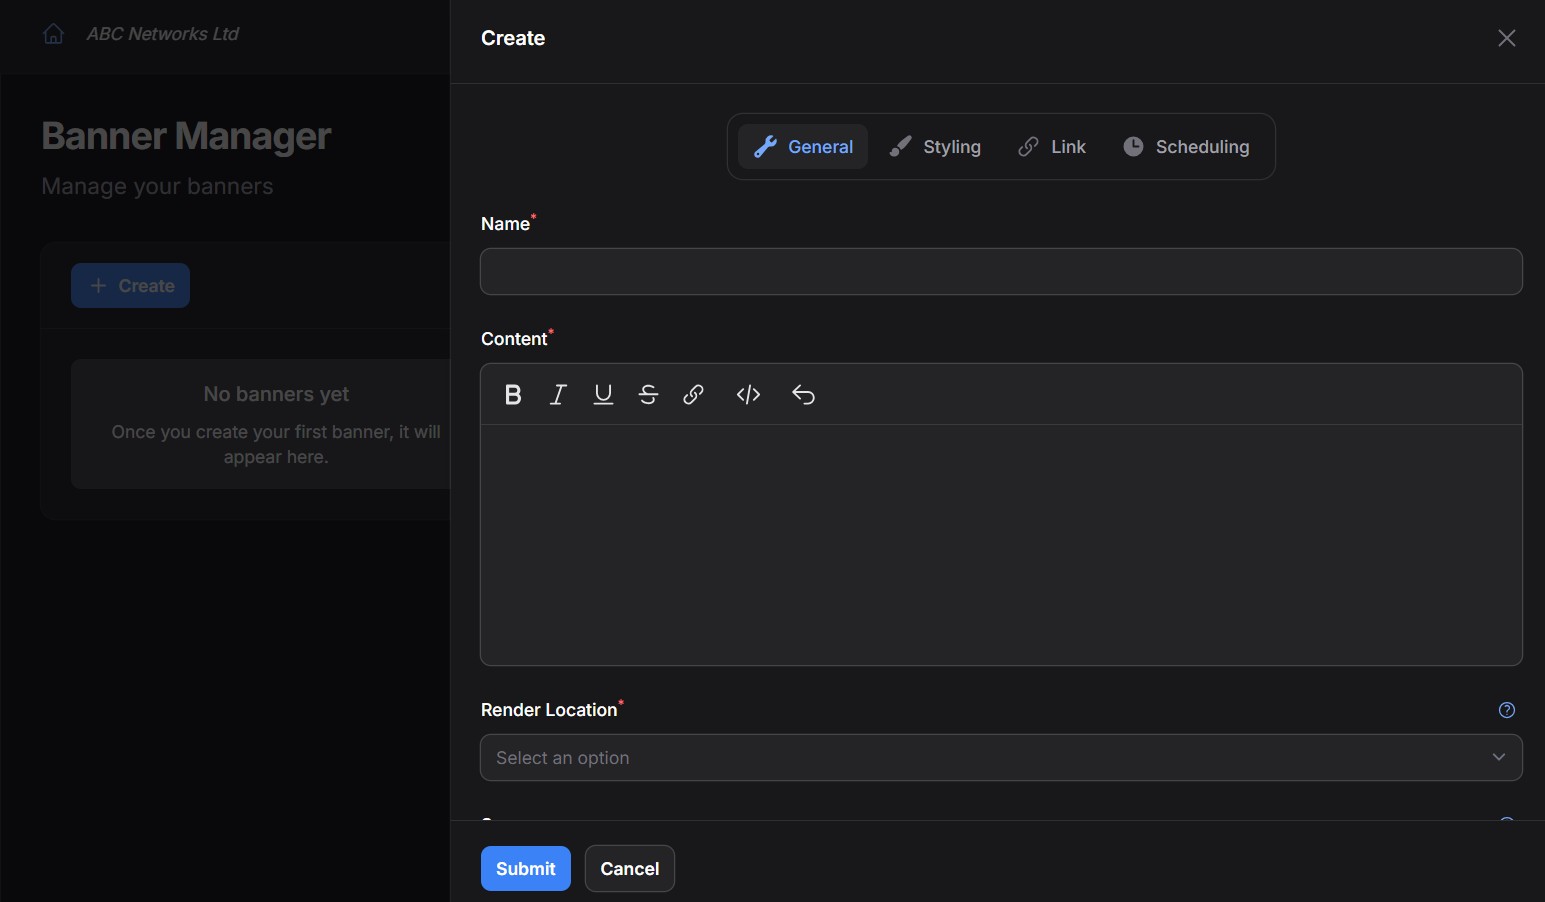
2. Fill in the General Tab #
In this tab, set the basic details of the banner:
- Banner Name: Internal title for your reference
- Content: The message or announcement you want to show
- Render Location: Where the banner should appear. You can choose:
- Top of the header
- Start or end of any page
- Before or after login, register, reset password forms
- Before or after the global search bar
- Scope: Limit the banner to specific pages or resources if needed
- Options:
- Allow the banner to be closed by the user
- Truncate the banner content if it’s too long
- Status: Choose whether the banner is active or not
3. Customize the Styling #
Use the Styling tab to change the look of the banner:
- Text Color
- Icon and its color
- Background Color (can be solid or gradient)
4. Add a Link (Optional) #
If you want the banner to link somewhere:
- Go to the Link tab
- Set the URL
- Choose whether it should open in a new tab
- Select the mode:
- Make the whole banner clickable
- Or add a button inside the banner
5. Schedule the Banner #
If you want the banner to show only during a specific time:
- Use the Scheduling tab
- Set the Start Time and End Time
Once you’re done filling in the details, click Save, and your banner will be active based on the settings you chose.