Categories in The Smart DMS help you organize various types of content. They can be nested (i.e., have parent-child relationships), color-coded, and enhanced with icons and media for a better browsing experience.
Steps to Create a Category #
Navigate to Content Management > Categories > Create where you will see a form like one below.
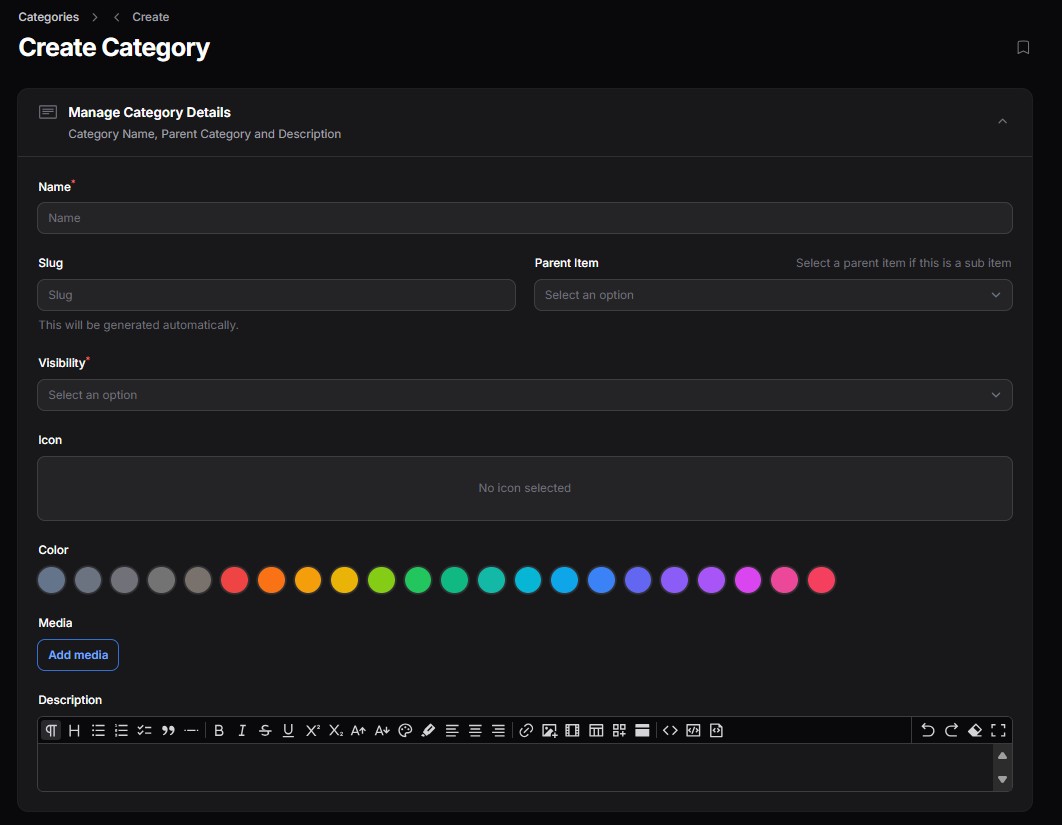
Fill in the Category Details:
| Field | Description |
|---|---|
| Name | The name of the category (e.g., IT Support, Training Materials) |
| Slug | Auto-generated based on the name. You can override it if needed. |
| Parent Item | Select a parent category to create a subcategory. Leave empty for a top-level category. |
| Visibility | Set who can view this category (e.g., public, internal staff only). |
| Icon | Pick an icon to visually represent the category in lists. |
| Color | Choose a color to distinguish this category easily. |
| Media | Optionally attach a relevant image or document for visual identification. |
| Description | Add a short explanation or purpose of the category. This helps users understand what kind of content is grouped under it. |


