
User roles define what each user can access and do within the system.
Follow these steps to create a new role:
- Go to the Roles page from the sidebar menu.
- Click on “Create Role” or “New Role”.
- In the form:
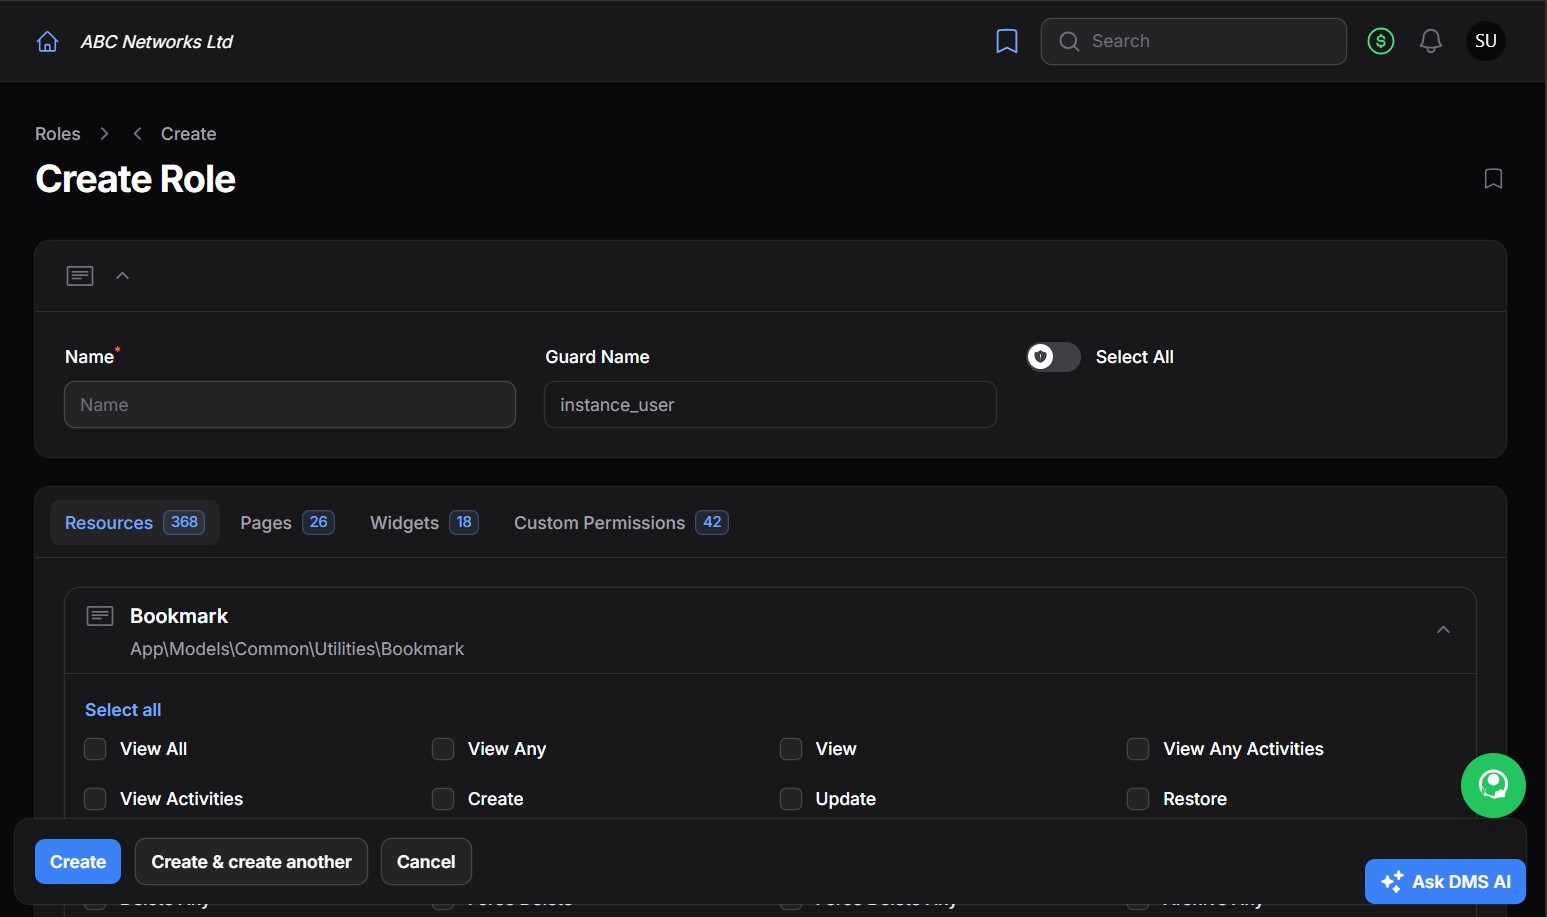
Enter a name for the role (e.g., Supervisor, Accountant, Agent).
The Guard Name (e.g.,instance_user) is usually set automatically. Leave it as is unless advised otherwise. - Under the permissions section:
Switch between Resources, Pages, Widgets, and Custom Permissions tabs.
Tick the boxes next to the permissions you want to assign (e.g.,view_any,create,update).
Optionally, click Select All to grant full access across all areas. - Click Create to save the role.


