You can easily update your personal details, contact info, and password from your profile page.
- Click your avatar icon at the top-right corner of the screen.
- Click “Profile” from the dropdown menu.
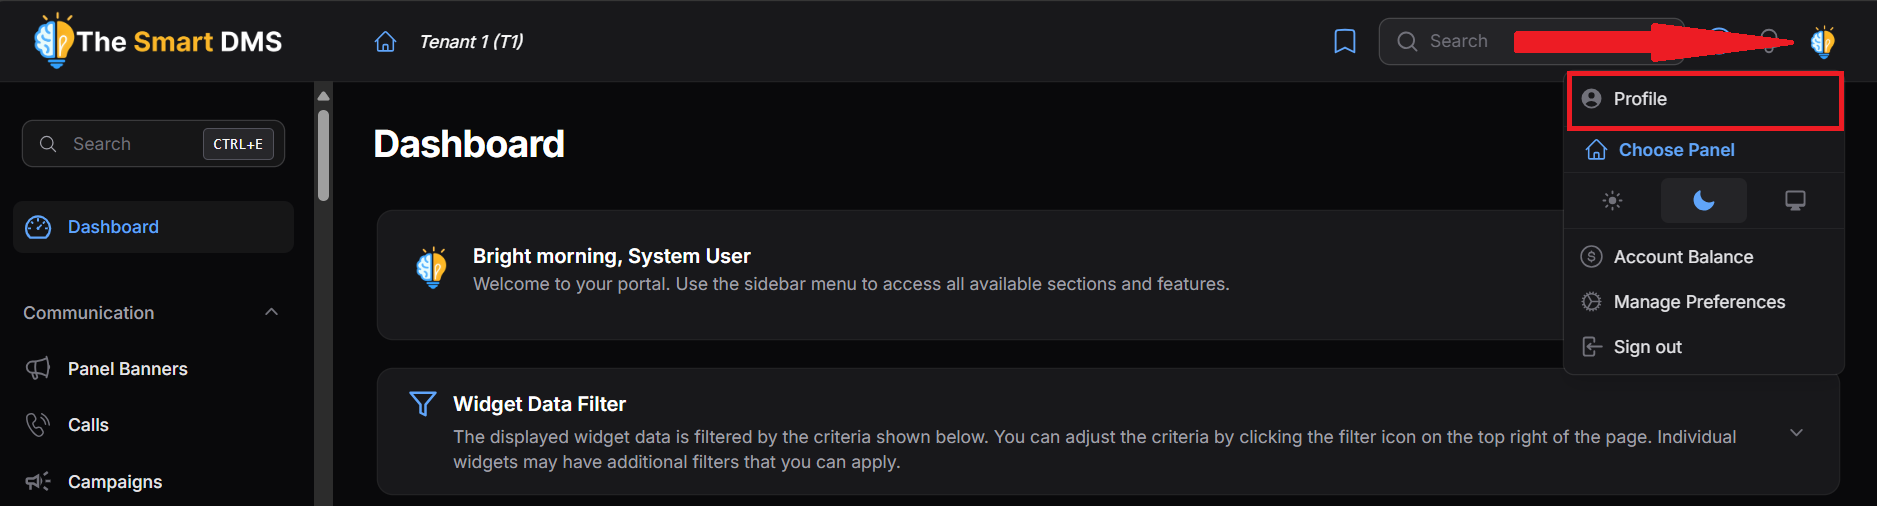
- Clicking on the link will redirect you to the profile page.
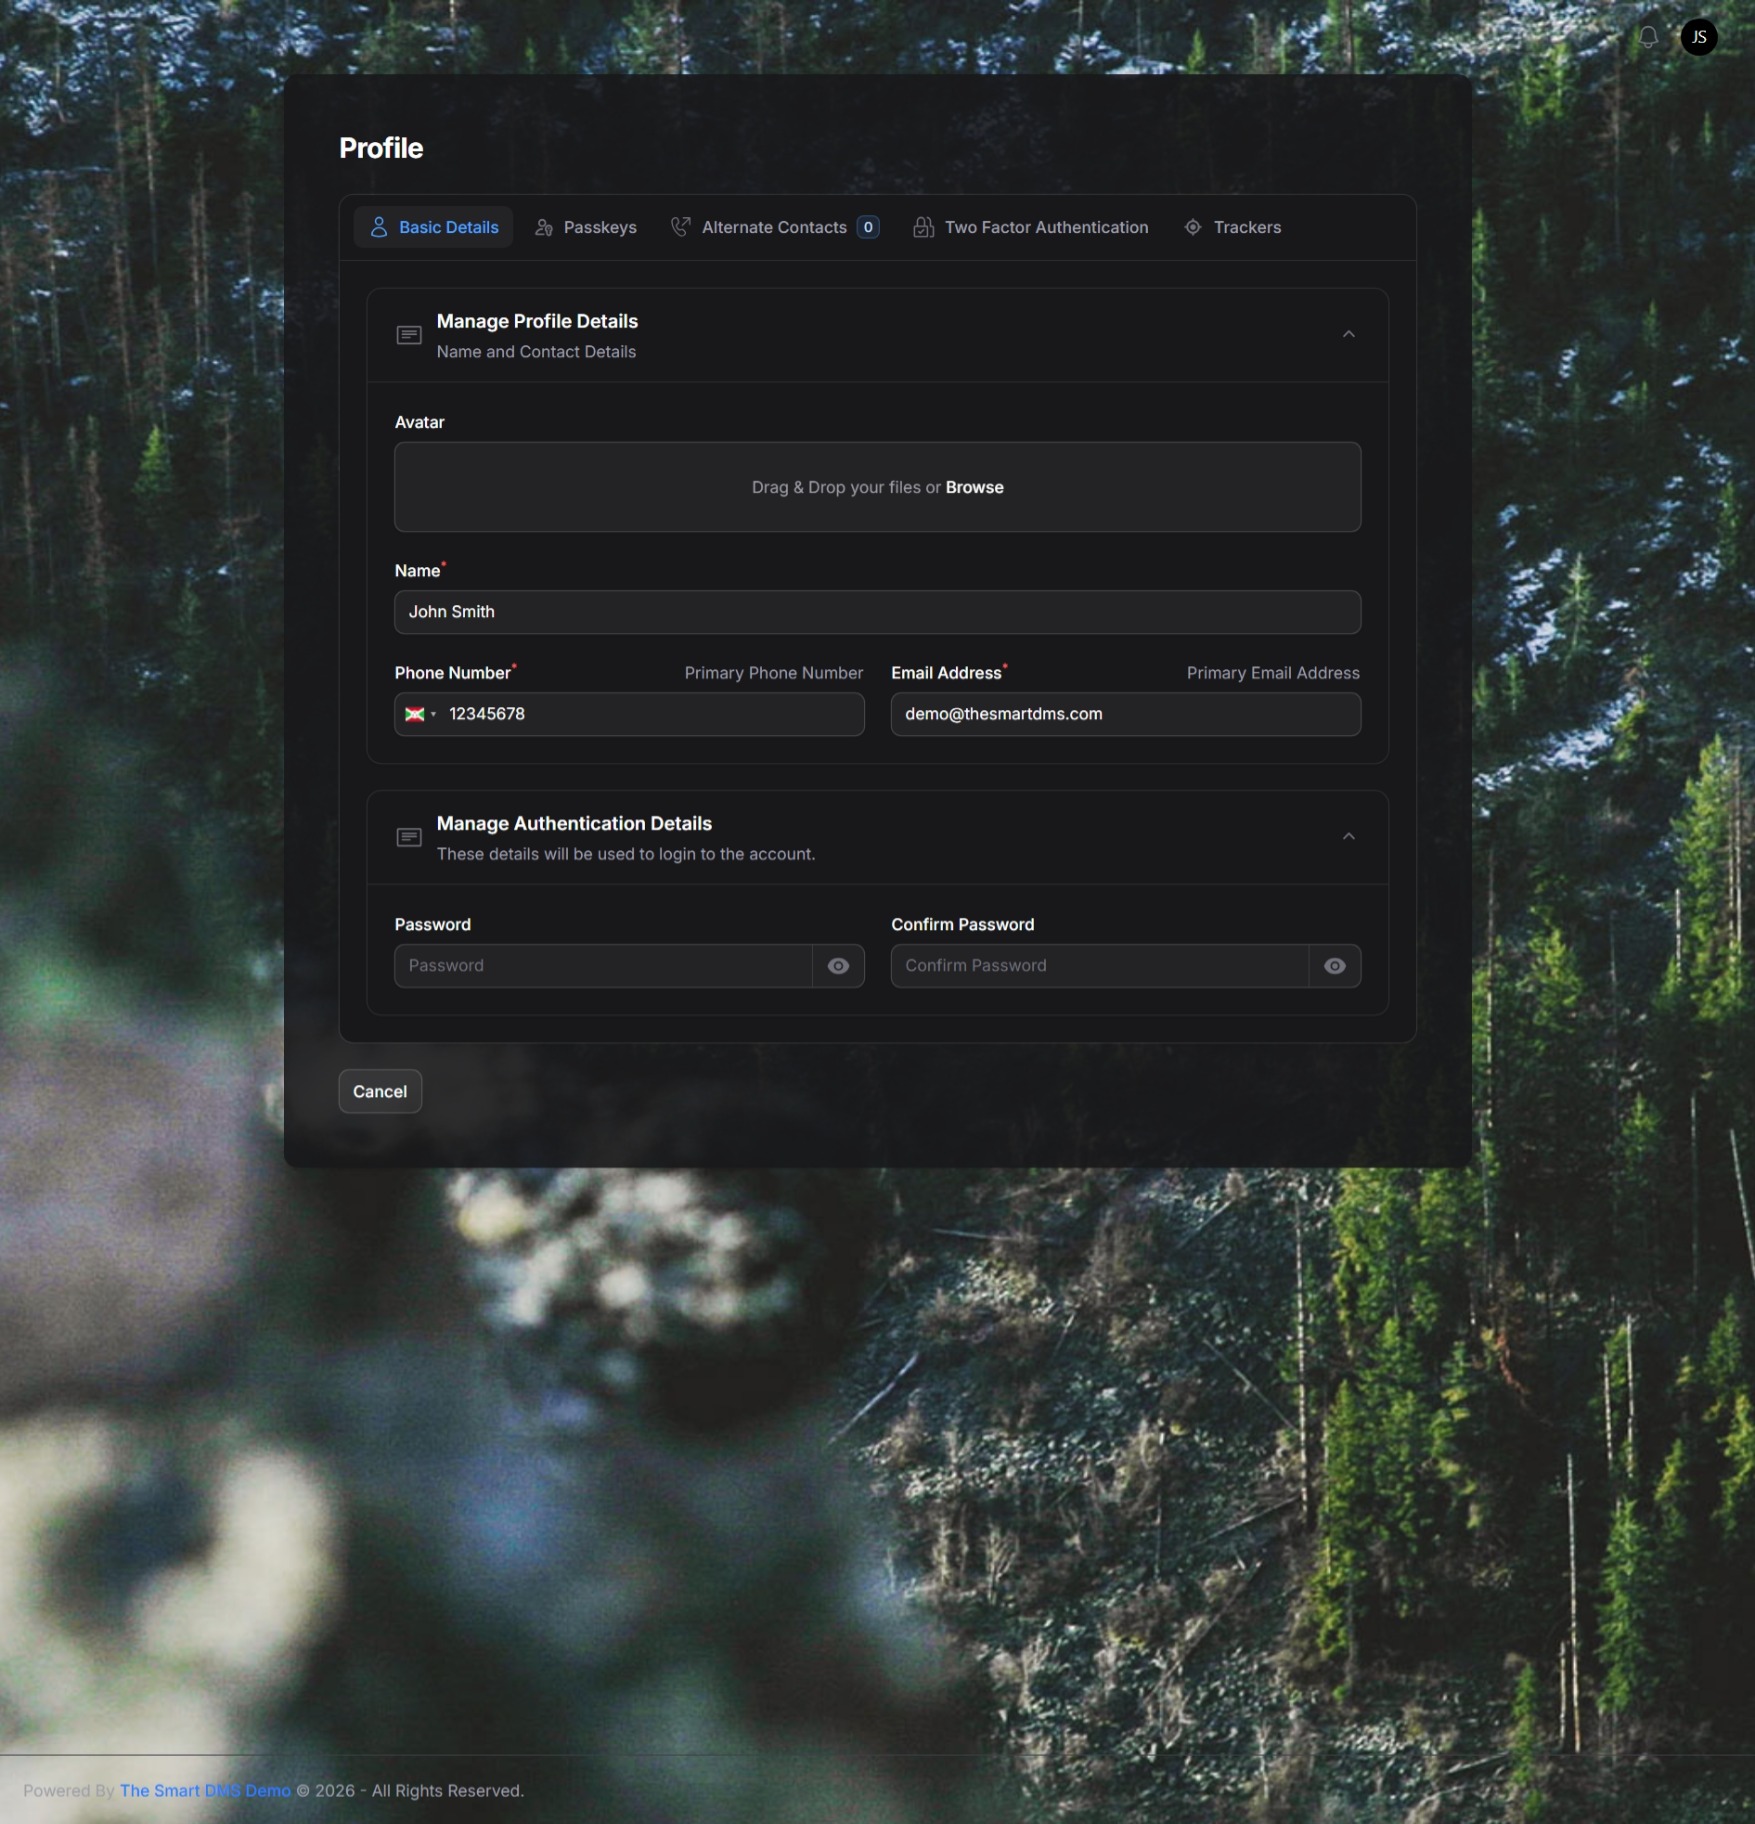
Basic Details Tab #
In the Basic Details tab, you can update your:
- Avatar
- Name
- Primary Phone Number
- Primary Email Address
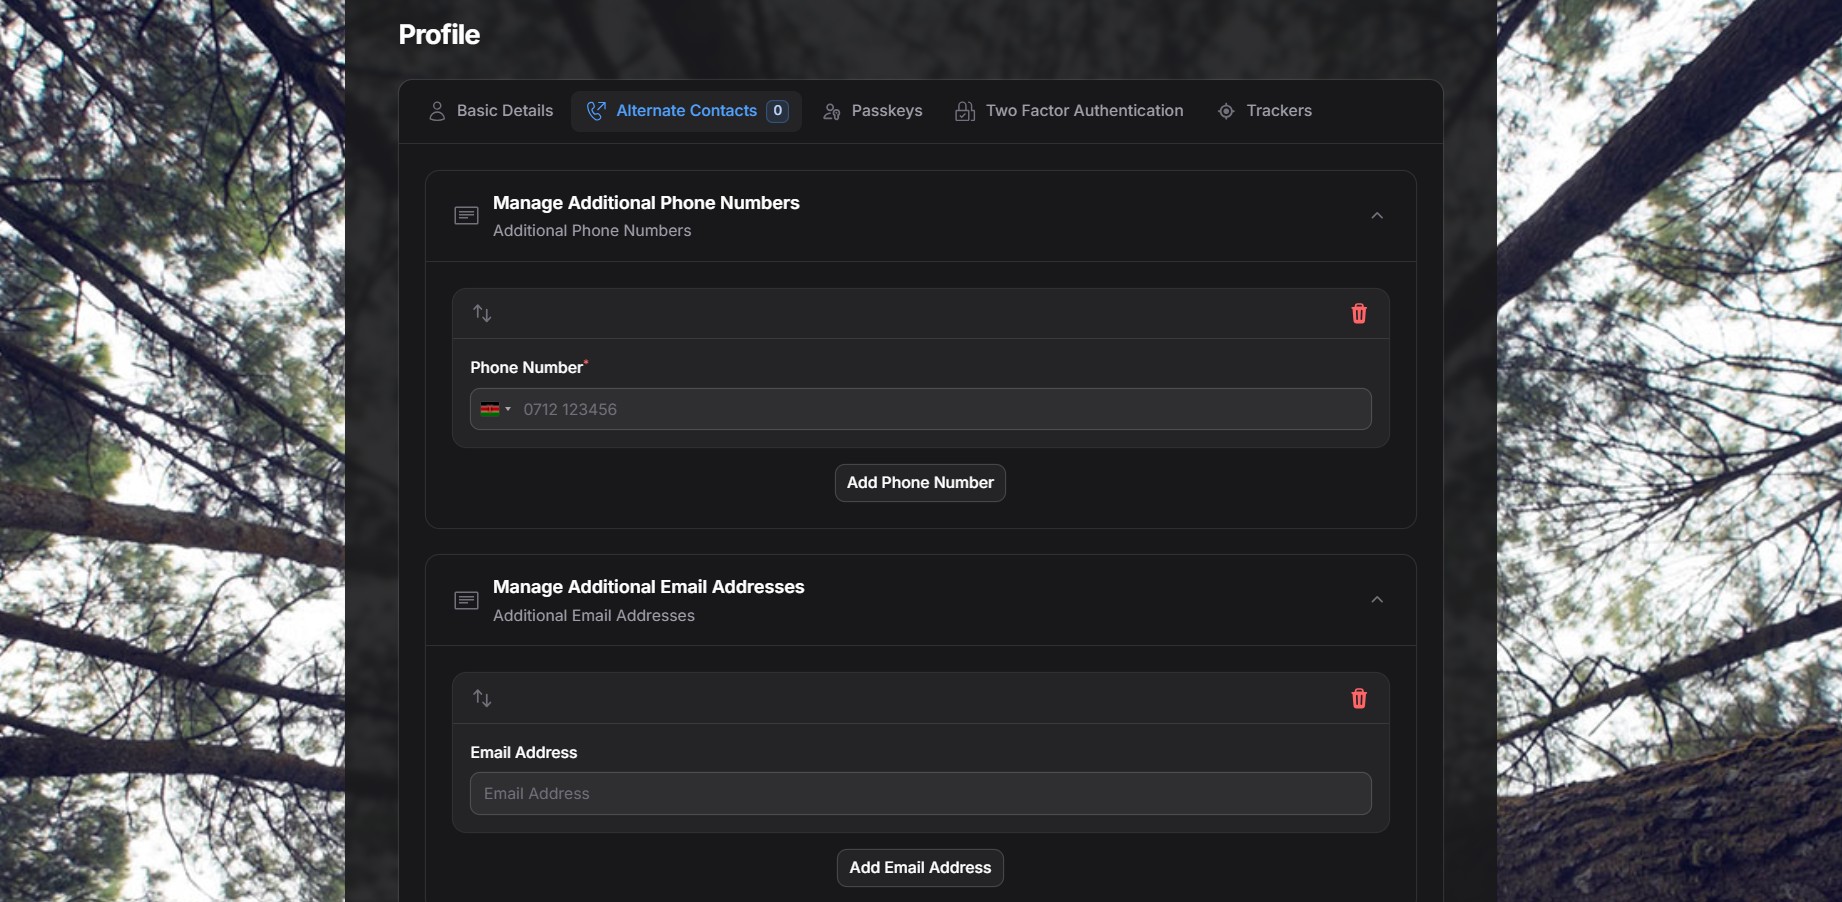
Alternate Contacts Tab #
In the Alternate Contacts tab, you can add additional phone numbers or email addresses.
Passkeys Tab #
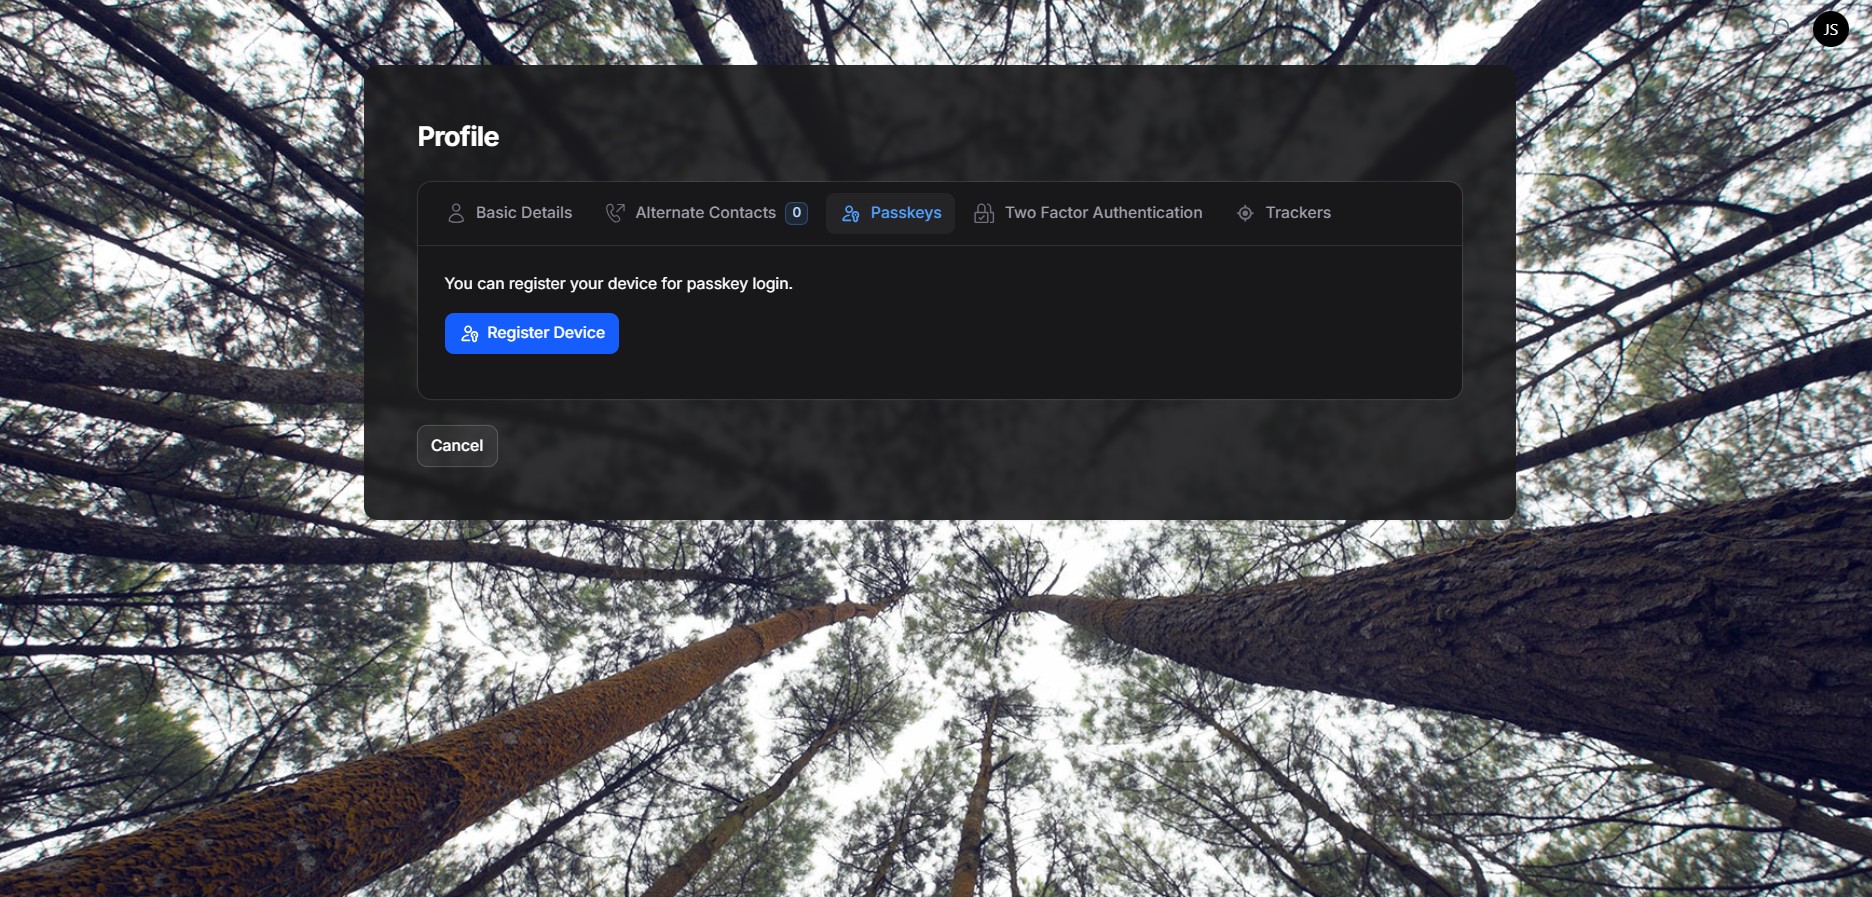
In the Passkeys tab, you can securely register your device for passwordless login using modern authentication methods such as Fingerprint, Face ID, or your device’s built-in security key.
This feature allows you to sign in without entering a password, relying instead on WebAuthn-supported credentials that are tied directly to your device and verified by your browser.
How it works #
- When you click Register Device, the system checks whether your browser supports WebAuthn (the standard behind passkeys).
- If supported, your browser will prompt you to authenticate using an available method on your device, such as:
- Fingerprint
- Face ID
- Windows Hello
- Device PIN or hardware security key
- Once verified, your device is securely registered as a passkey for your account.
What to expect #
- No passwords involved: Your biometric or device credential never leaves your device.
- Browser-dependent: Passkeys only work on browsers that support WebAuthn.
- Device-specific: Each device must be registered separately.
- Instant activation: After successful registration, the page reloads and the passkey becomes available immediately.
If registration fails #
- Ensure you are using a modern browser (Chrome, Edge, Safari, or Firefox with WebAuthn support).
- Confirm that your device has biometric authentication or a supported security mechanism enabled.
- If your browser does not support WebAuthn, you will be notified before registration begins.
Two Factor Authentication Tab #
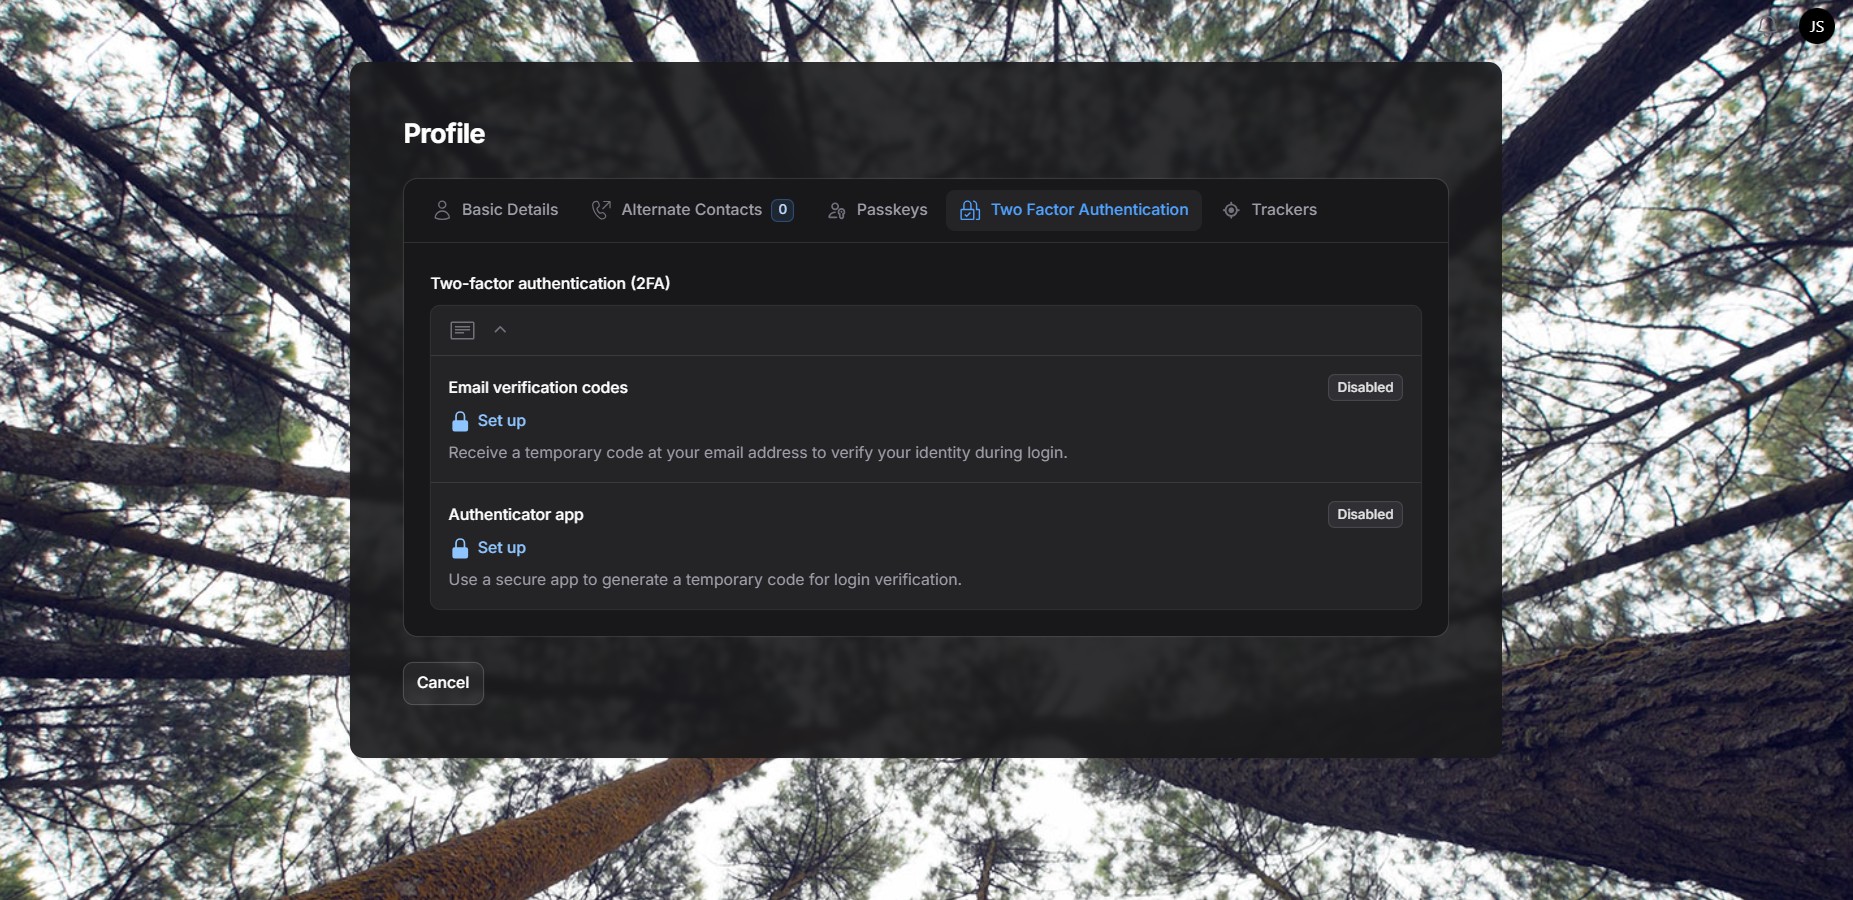
In the Two-Factor Authentication (2FA) tab, you can add an extra layer of security to your account by requiring a one-time verification code during login or when performing sensitive actions.
Two-factor authentication helps protect your account even if your password is compromised. You can enable one or both of the available 2FA methods depending on your preference.
Available 2FA methods #
1. Email verification codes #
This method sends a temporary 6-digit code to your registered email address.
How it works
- Click Set up under Email verification codes.
- A 6-digit code is sent to your email address.
- Enter the code in the verification prompt to complete setup.
- Once enabled, you’ll be asked for an email code each time you sign in or perform sensitive actions.
Notes
- Codes are time-limited for security.
- If you don’t receive the code, you can use Send a new code by email.
- This option is convenient and does not require any additional apps.
2. Authenticator app #
This method uses a dedicated authenticator app to generate time-based codes.
How it works
- Click Set up under Authenticator app.
- Install an authenticator app such as Google Authenticator or any compatible app on your phone.
- Scan the displayed QR code with your authenticator app
(or enter the provided setup key manually if scanning is not possible). - Enter the 6-digit code generated by the app to confirm setup.
- After activation, the app will generate a new code every few seconds.
Notes
- This method does not rely on email delivery.
- You must keep access to your authenticator app to sign in.
- Each login or sensitive action will require the current 6-digit code from the app.
Status indicators #
- Disabled means the 2FA method is not yet active.
- Once enabled, the method becomes part of your login and verification flow.
Recommended usage #
- Enable at least one 2FA method for improved security.
- Using an authenticator app is recommended for higher-security accounts.
- You can combine 2FA with passkeys and other authentication methods for maximum protection.
Two-factor authentication significantly reduces the risk of unauthorized access and is strongly encouraged for all users.


