
To manage task settings, go to Tasks > Settings.
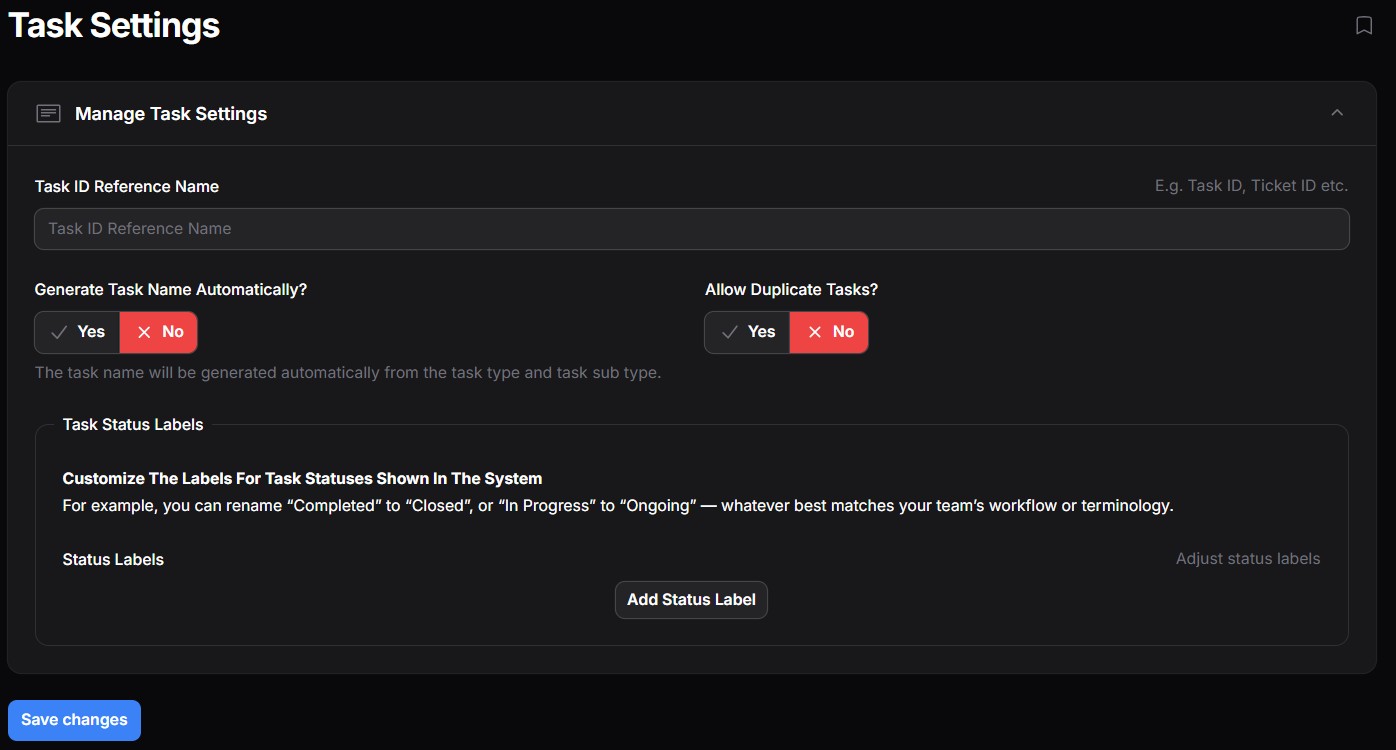
Task Settings allow you to control how tasks are identified, named, and whether duplicates are allowed in your workflow. These options help standardize task records and prevent confusion caused by duplicate entries.
Form Field Details #
1. Task ID Reference Name #
- Purpose: Used to label your task reference field (e.g. “Task ID”, “Ticket Number”, “Work Order No.”).
- Usage: This is a display label only; it doesn’t change the underlying database structure, but it helps your team use familiar terminology.
Example: If you input
Ticket ID, then anywhere a task ID is displayed or entered, users will see “Ticket ID” as the label.
2. Generate Task Name Automatically? #
- Yes: Task names will be auto-generated based on the selected Task Type and Task Sub-Type. This improves consistency and speeds up task creation. Example: A task with type Installation and sub-type Fibre may be auto-named as
Installation - Fibre. - No: You will be required to manually enter a task name during task creation.
3. Allow Duplicate Tasks? #
- Yes: The system will allow the creation of multiple tasks with the same details (e.g., same type, client, location, etc.). Use this if your workflow often includes recurring or similar tasks.
- No: The system will restrict task creation if it detects a task with matching critical fields (e.g. type, client, account, and status) to prevent redundancy.
🔒 Best Practice: Disable duplicates to reduce errors unless your operational workflow needs it (e.g. scheduled repeat tasks).
4. Task Status Labels #
You can customize how task statuses appear to match your team’s workflow more closely. For example, change “In Progress” to “Ongoing” or “Completed” to “Closed” — whatever works best for your process.

Steps to Customize a Task Status Label #
- Click “Add Status Label”.
- Choose a Status:
In the Status dropdown, select the system status you want to relabel (e.g.,In Progress,Completed, etc.).
💡 A short description of what the status means is shown just below the dropdown. - Enter New Label:
In the Label field, type the new name you want to display in the UI (e.g.,Ongoing,Closed,Under Review). - Repeat for Other Statuses (if needed).


