The Task creation form allows you to assign and track work across your organization, such as installations, repairs, inspections, or any custom activity you define. To create a task, go to Tasks > Add New.
Form Field Details #
1. Task Name, Type & Sub Type #
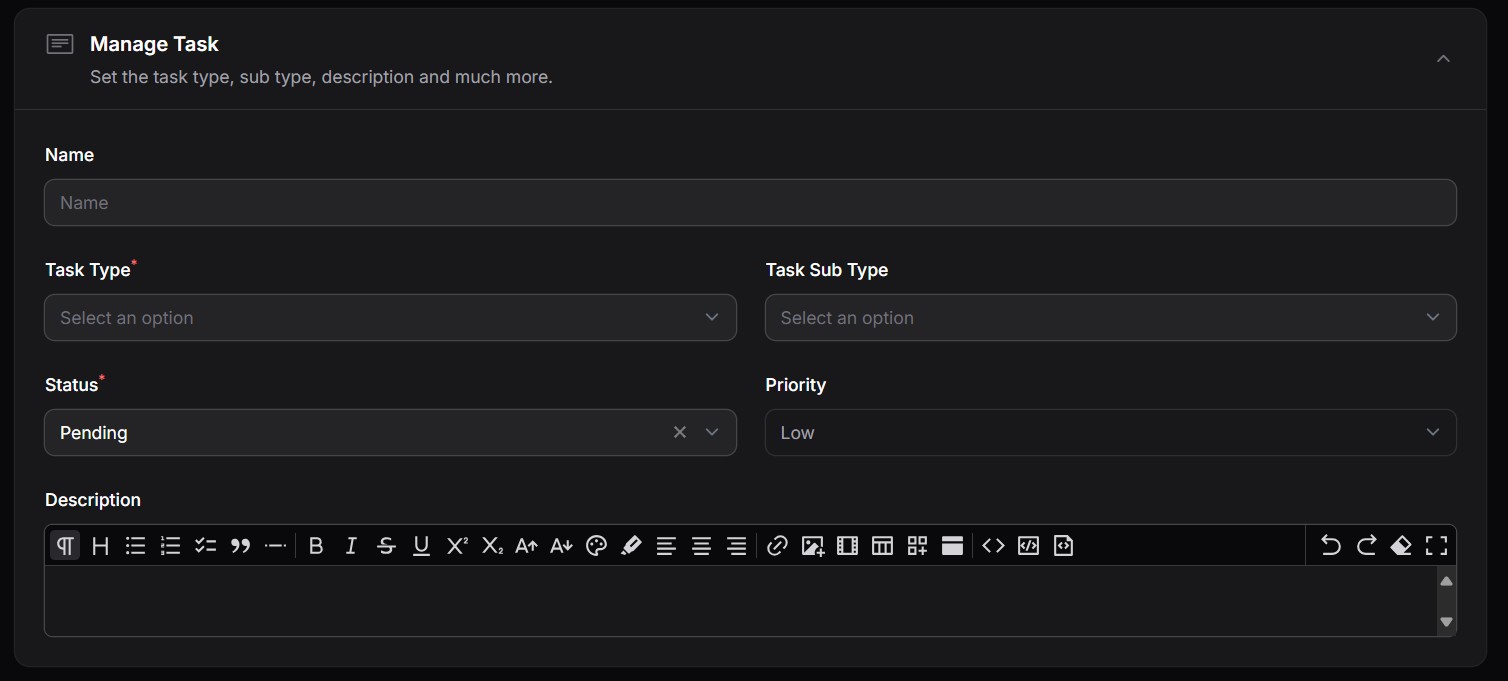
Set the basic details of the task:
- Name: Task name. (If you would like the system to automatically generate the task name, go to Tasks > Settings and enable the automatic task generation option. The task name will be generated automatically from the task type and task sub type).
- Task Type: e.g. Installation, Inspection, Maintenance.
- Task Sub-Type: Optional categorization (e.g. for Installation: Fiber, CCTV, Solar).
- Status: Task’s current state (e.g. Pending, In Progress, Completed).
- Priority: Low, Medium, High—used to prioritize execution.
- Description: Free-text field to describe the work to be done.
The task types and sub types are defined in the Task Types page. Learn more here.
2. Marketer Details #
If a marketer referred the client for this task, select them here. This helps track commissions and performance. Learn how to create a marketer here.

3. Client and Account Assignment #

Select the client and specific account this task is for.
Tip: If the dropdown shows a
+icon, it means you can add a new record directly from the form (e.g. a new client or account).
If a selected item has a pencil icon, clicking it lets you edit the record directly from the form (e.g. editing a client or location).
4. Associated Attachments #
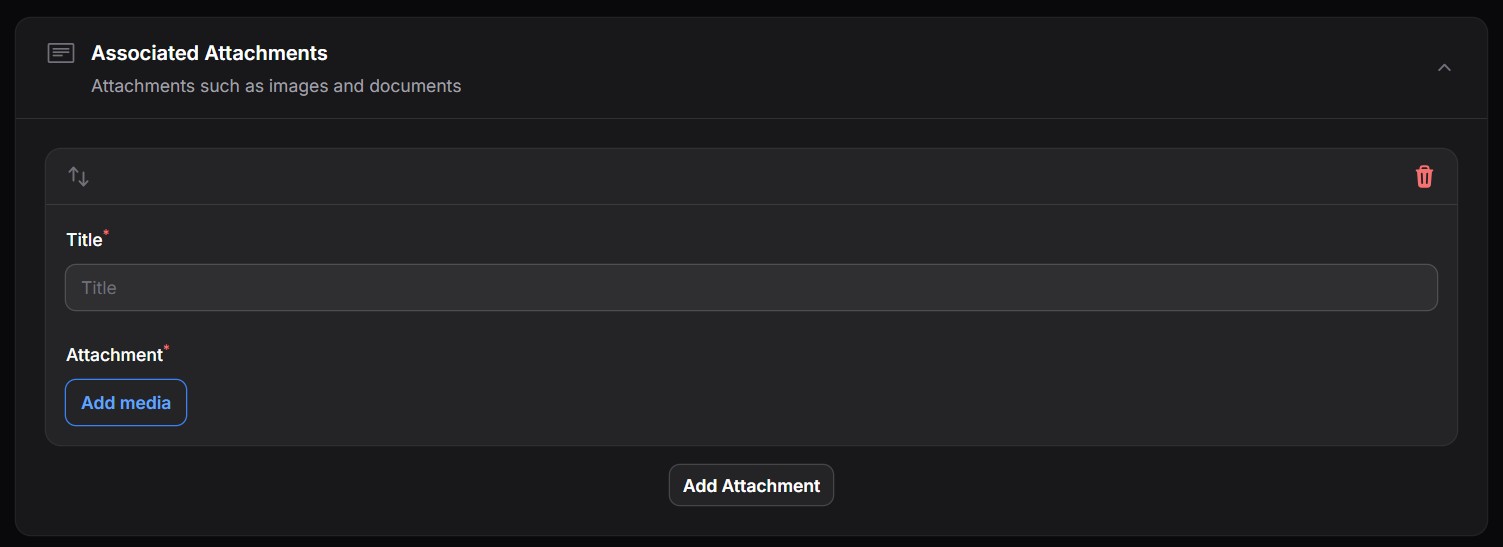
Upload any media related to the task (e.g. site photos, signed documents, design files).
5. Location Details #
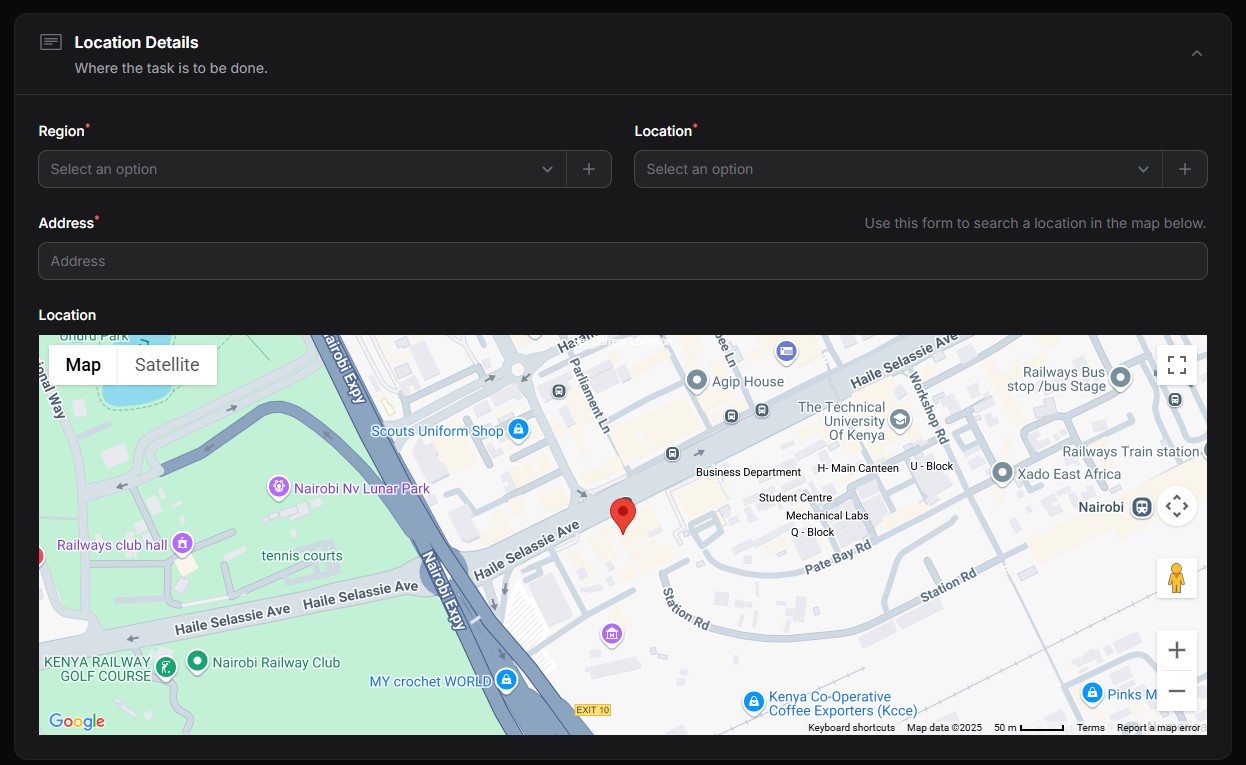
Specify where the task will take place:
- Region: Broad area or territory.
- Location: More specific branch or building.
- Address: Enter manually or use the interactive map to pinpoint the location.
6. Employees #

Assign one or more employees who will handle this task.
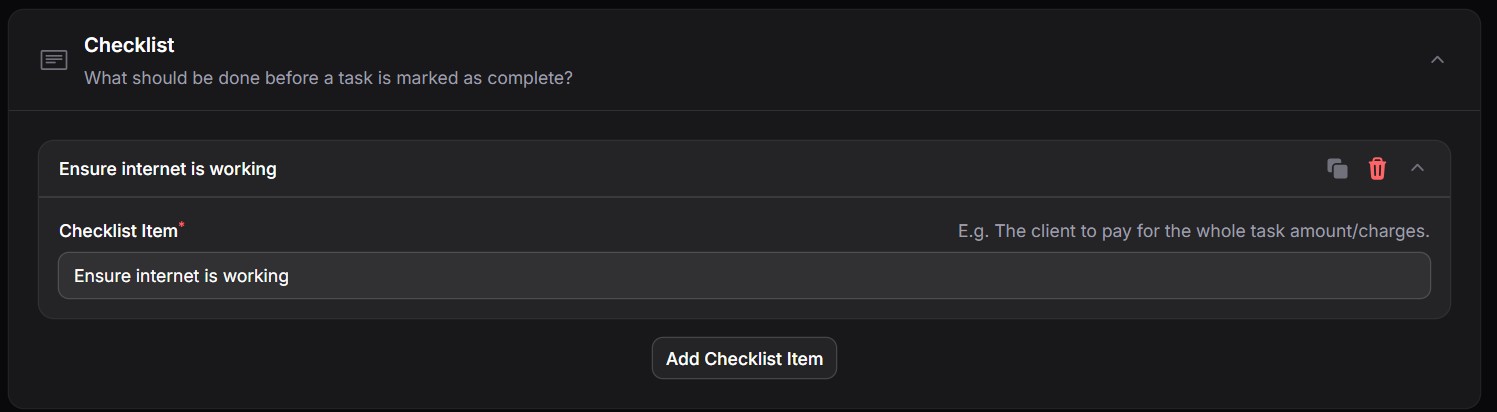
7. Checklist #
Define steps that must be completed before the task is considered done (e.g. customer sign-off, equipment collected, feedback gathered).
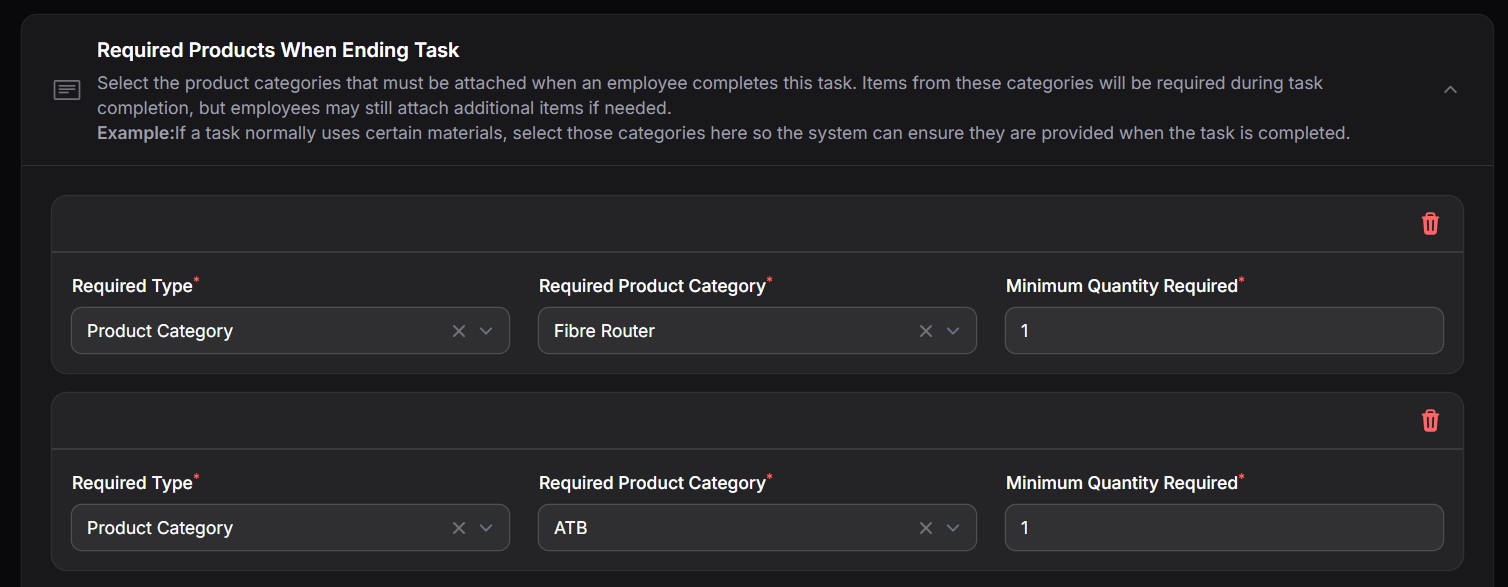
8. Product Item Requirements #
Select the product categories that must be attached when an employee completes a task. Items from these categories will be required during task completion, but employees may still attach additional items if needed.
9. Charges #

Add any costs or billing items associated with the task:
- Each item includes:
- Name, Description
- Quantity and Unit
- Price Per Unit
- Commissionable: Whether the item contributes to commissions.
- Discounts: Apply pre-defined discounts if applicable.
The mandatory charges that must be filled when creating task are managed from the Task Types page. Learn more here.
Submitting the Task #
Once all fields are complete:
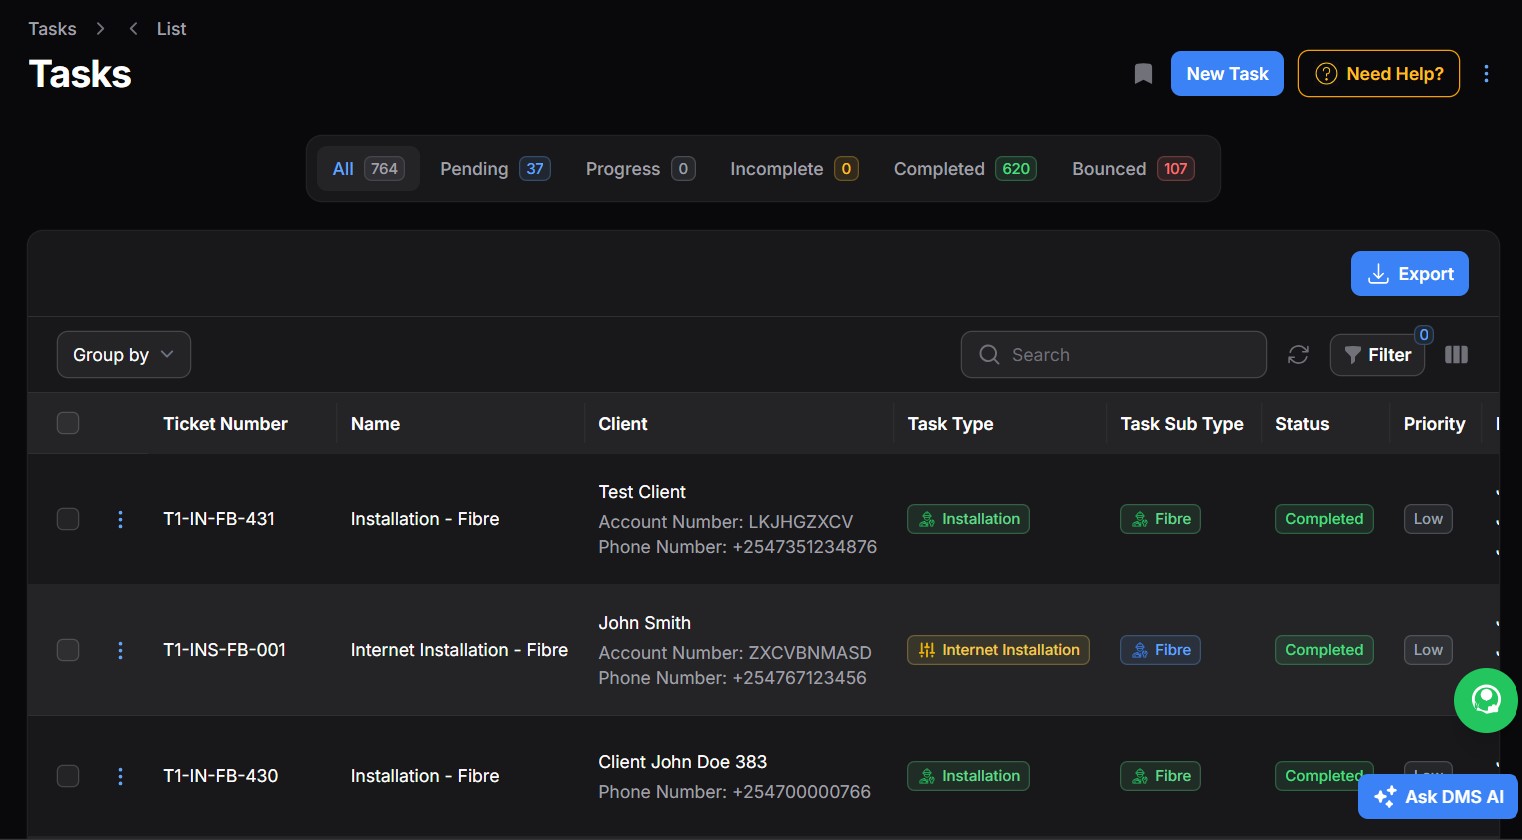
- Click Submit to save the task.
- The task will now be visible in your task lists (Pending, Completed, etc.) and will notify any assigned employees or marketers.
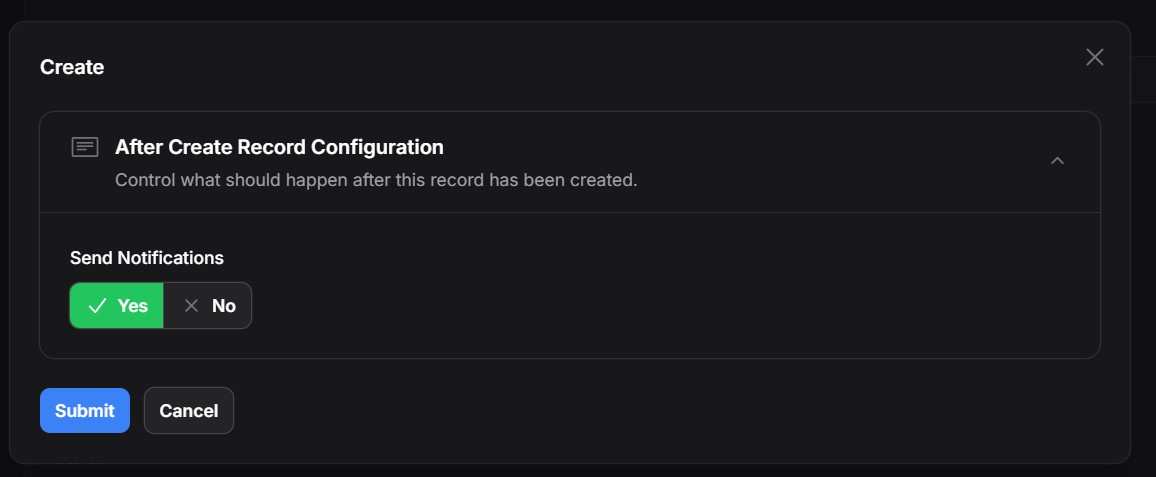
At times, you may be filling already completed tasks and you may not want the notifications to be send. Once you click the Submit button, and provided that you have a user role that enables you to disable notifications, a popup will appear that will request you if you would want the notifications to be sent.